April 28, 2025
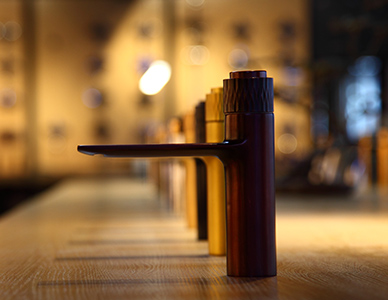
Assembling faucets is a critical step in the production line, which directly affects the quality, sealing, and service life of products. The following is the detailed process, key technologies, and precautions for faucet assembly:

1. Assembly process
(1) Pre assembly preparation
Parts sorting: valve body, valve core, handle, sealing ring (O-ring/gasket), decorative cover, inlet and outlet pipes, etc.
Cleaning inspection: Ensure that there are no burrs or impurities (especially on the valve seat and sealing surface).
(2) Core component assembly
Valve core installation
Place the ceramic valve core (or copper valve core) into the valve body and align it with the positioning hole.
Secure with a snap spring or screw to ensure that the valve core is not loose.
Key point: The direction of the valve core should be consistent with the hot and cold water markings (blue/red).

Sealing treatment
Wrap raw tape (or apply thread sealant) around the threaded interface.
Install rubber gaskets/O-rings to prevent water leakage at the interface.
Assembly of handle and decorative cover
The handle is connected to the valve core rod through screws, and the tightness of the handle is adjusted (to avoid being too tight and causing poor operation).
Decorative cover buckle, covering the internal fixed structure.
(3) Installation of functional components
Bubbler (water-saving device): Screw into the water outlet, filter the water flow and increase oxygen.
Water divider (optional): a lever mechanism used for switching between showerheads/faucets.
Hose connection: The inlet and outlet hoses should be threaded tightly with the valve body to prevent twisting.

(4) Tightening and debugging
Use a torque wrench to tighten screws according to standards (such as valve core fixing screws, which usually require 3-5N · m).
Manually rotate the handle to test the smoothness of the switch and adjust the clamping force of the valve core.
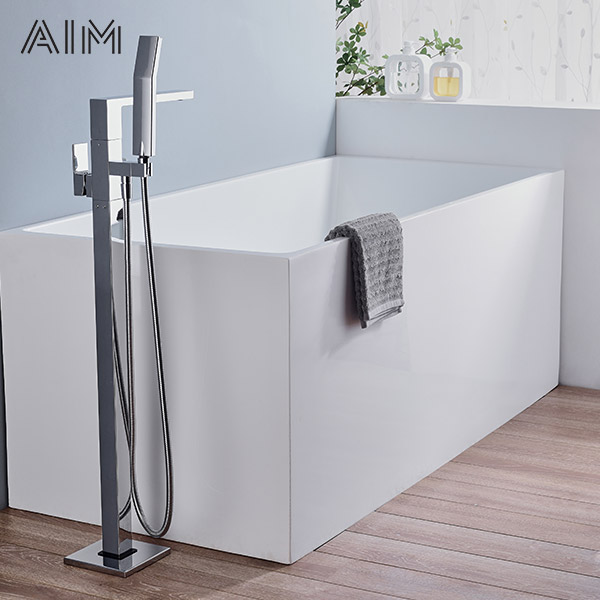
AIM Faucet is not just a faucet manufacturer or wholesaler, but more like a partner who can provide you with more added value.
We are united in our determination to produce China-made bath and kitchen fixtures adhering to the highest ethical principles. You have our promise!